Choosing Materials and Tools for Simple Cabinet Doors: How To Build Simple Cabinet Doors

Building simple cabinet doors is a rewarding DIY project that can significantly upgrade your kitchen or bathroom. The key to success lies in selecting the right materials and tools. This section will guide you through choosing appropriate wood, essential tools, hinges, and handles, and preparing your wood for assembly.
Wood Selection for Cabinet Doors
The type of wood you choose will impact the final look, durability, and cost of your cabinet doors. Several options offer varying properties, making it crucial to understand their strengths and weaknesses.
| Wood Type | Cost | Durability | Workability |
|---|---|---|---|
| Pine | Low | Moderate | Easy |
| Oak | Medium-High | High | Moderate |
| Plywood (Birch or Poplar) | Medium | Good | Easy |
Pine is a budget-friendly softwood, easily worked with hand tools, but it’s less durable than hardwoods and prone to dents. Oak is a classic hardwood choice, offering superior strength and a beautiful grain, but it’s more expensive and requires more skill to work with. Plywood provides a stable and cost-effective alternative, especially for larger doors, and is readily available in various thicknesses and veneers.
Essential Tools for Cabinet Door Construction
Having the right tools makes the job easier and safer. Gather these essential tools before you begin:
- Measuring Tape
- Pencil
- Hand Saw or Circular Saw
- Chisel
- Wood Clamps
- Sandpaper (various grits)
- Safety Glasses
- Drill with various drill bits
- Screwdriver
- Router (optional, for decorative edges)
Choosing and Installing Hinges and Handles
Hinges and handles are functional and aesthetic elements. Select hinges based on door weight and desired style. Handles should complement the overall kitchen design.
- Hinges: Consider using full overlay hinges for a modern look, or inset hinges for a more traditional style. Self-closing hinges add convenience. Installation usually involves pre-drilling pilot holes for screws to prevent wood splitting.
- Handles: Choose from knobs, pulls, or bar handles. Measure carefully and mark the locations for drilling holes before installation. Consider the handle’s placement for ergonomics and aesthetics.
Preparing the Wood: Cutting, Sanding, and Finishing
Proper wood preparation ensures a smooth, professional finish. Follow these steps for optimal results:
- Cutting: Accurately cut the wood to the desired dimensions using a saw. Ensure square cuts for a perfect fit.
- Sanding: Sand all surfaces starting with coarser grits (e.g., 80 grit) and gradually moving to finer grits (e.g., 220 grit) for a smooth finish. Pay attention to edges and corners.
- Finishing: Apply a wood stain or paint to enhance the appearance and protect the wood. Follow the manufacturer’s instructions for application and drying time. Multiple coats may be needed for optimal coverage and protection.
Constructing the Cabinet Door Frame and Panel
Building a simple frame-and-panel cabinet door is a rewarding project, allowing for customization and a touch of personal style. This process involves creating a sturdy frame and fitting a central panel, offering both strength and aesthetic appeal. The techniques described below will guide you through each step.
Frame Construction Using Rabbet Joints
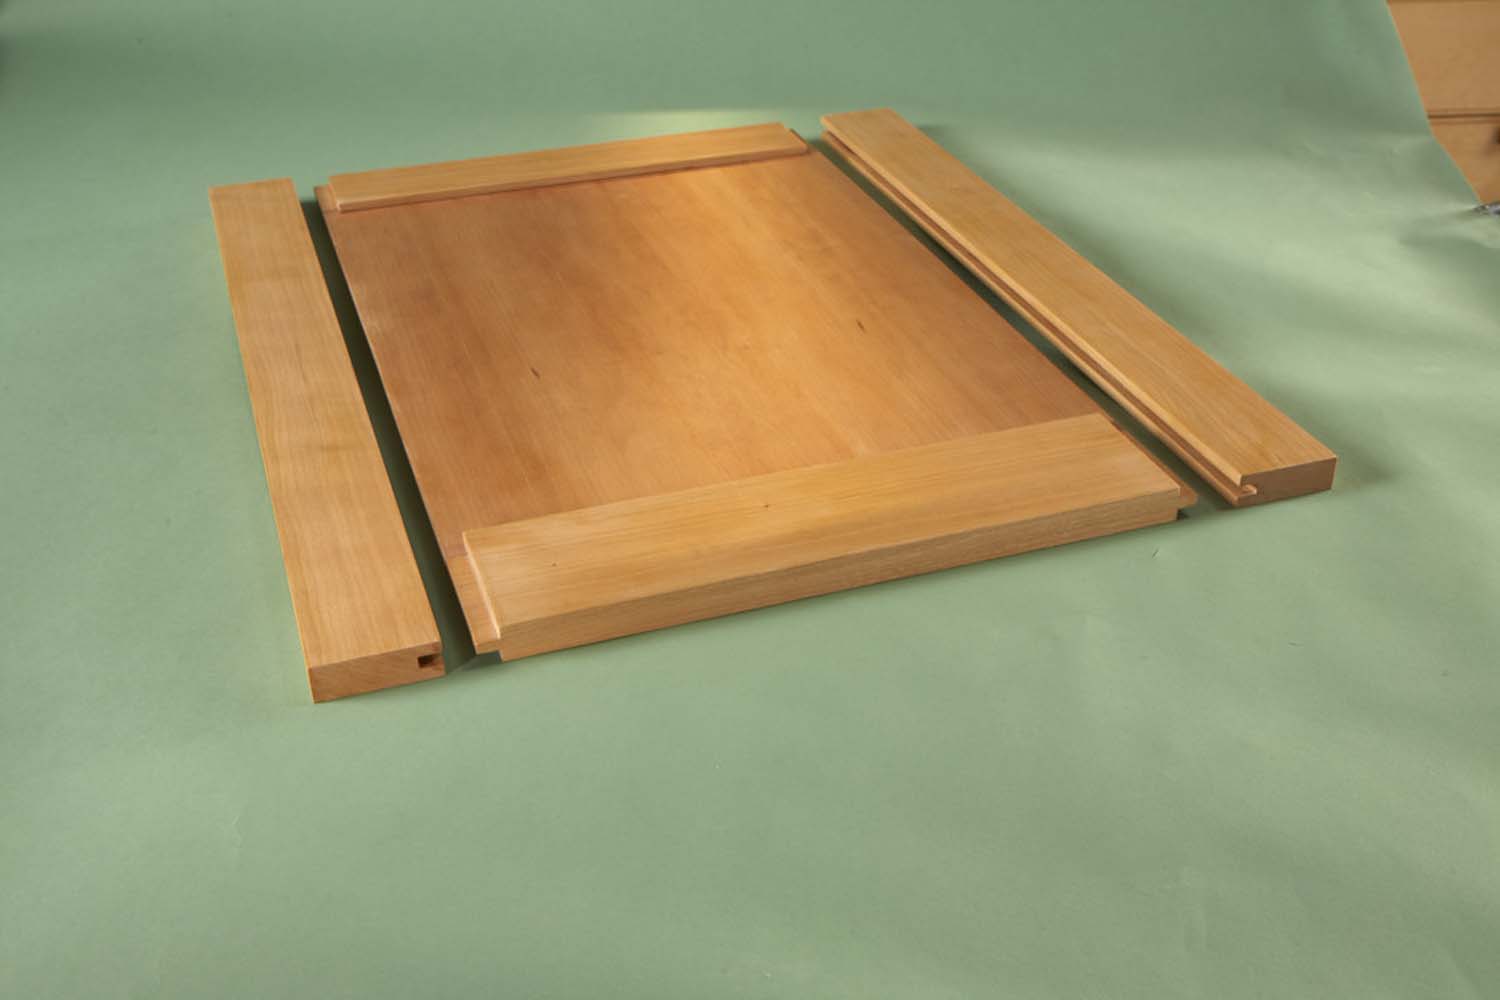
Rabbet joints are a classic choice for frame construction, offering both strength and a clean, finished look. They involve cutting a rectangular recess (the rabbet) into the edge of one board, which then receives the edge of another board. This creates a strong, interlocking joint.
- Cutting the Rabbets: Imagine a picture of a board with a groove cut along one edge. The groove is about 1/4 inch deep and 1/2 inch wide. This is the rabbet. You’ll need to cut this rabbet on the inside edges of all four pieces of your frame. Use a table saw, router, or hand saw to carefully create these rabbets, ensuring consistency across all four pieces. Precise cuts are crucial for a tight fit.
- Dry Fitting: Before gluing, carefully assemble the frame without glue to check the fit. Make any necessary adjustments. Imagine seeing the four pieces perfectly interlocking, forming a square or rectangle. This is the dry fit, ensuring everything fits perfectly before applying glue.
- Gluing and Clamping: Apply wood glue to the rabbets of each piece. Carefully assemble the frame, ensuring the corners are square and the joints are flush. Use clamps to hold the frame tightly together while the glue dries. Picture the frame held securely by clamps, ensuring the joints stay perfectly aligned.
Frame Construction Using Dado Joints
Dado joints offer another strong and visually appealing option for the frame. A dado is a groove cut across the width of a board, which accepts the edge of another board.
- Cutting the Dados: Picture a board with a channel cut across its width, precisely sized to accept the thickness of the frame pieces. These channels are the dados. Use a table saw, router, or dado set in a hand saw to create these dados, ensuring accurate depth and width. Precise cuts are critical for a strong and even joint.
- Dry Fitting: As with rabbet joints, dry fit the frame before gluing to check for any issues. Imagine the frame pieces neatly sliding into their respective dados, creating a snug fit.
- Gluing and Clamping: Apply wood glue to the dados and edges of the frame pieces. Assemble the frame, making sure it’s square and the joints are flush. Use clamps to hold everything together while the glue dries. Imagine the frame firmly clamped together, with the glue securing the dado joints.
Panel Insertion
Once the frame is assembled and dry, the panel can be fitted.
- Panel Sizing: Measure the interior dimensions of the frame carefully. Cut the panel slightly smaller than these dimensions to allow for a snug fit. Imagine the panel sitting slightly recessed within the frame, creating a clean, professional look. A gap of about 1/16th of an inch is typical.
- Panel Insertion: Carefully insert the panel into the frame. It should fit snugly but not be forced. Imagine the panel sitting perfectly within the frame, flush with the inside edges.
- Securing the Panel (Optional): For added security, you can use small brads or finishing nails to secure the panel to the frame. Drive the nails at an angle, countersinking them and filling the holes with wood filler.
Decorative Details, How to build simple cabinet doors
Adding decorative details elevates the finished look of your cabinet door.
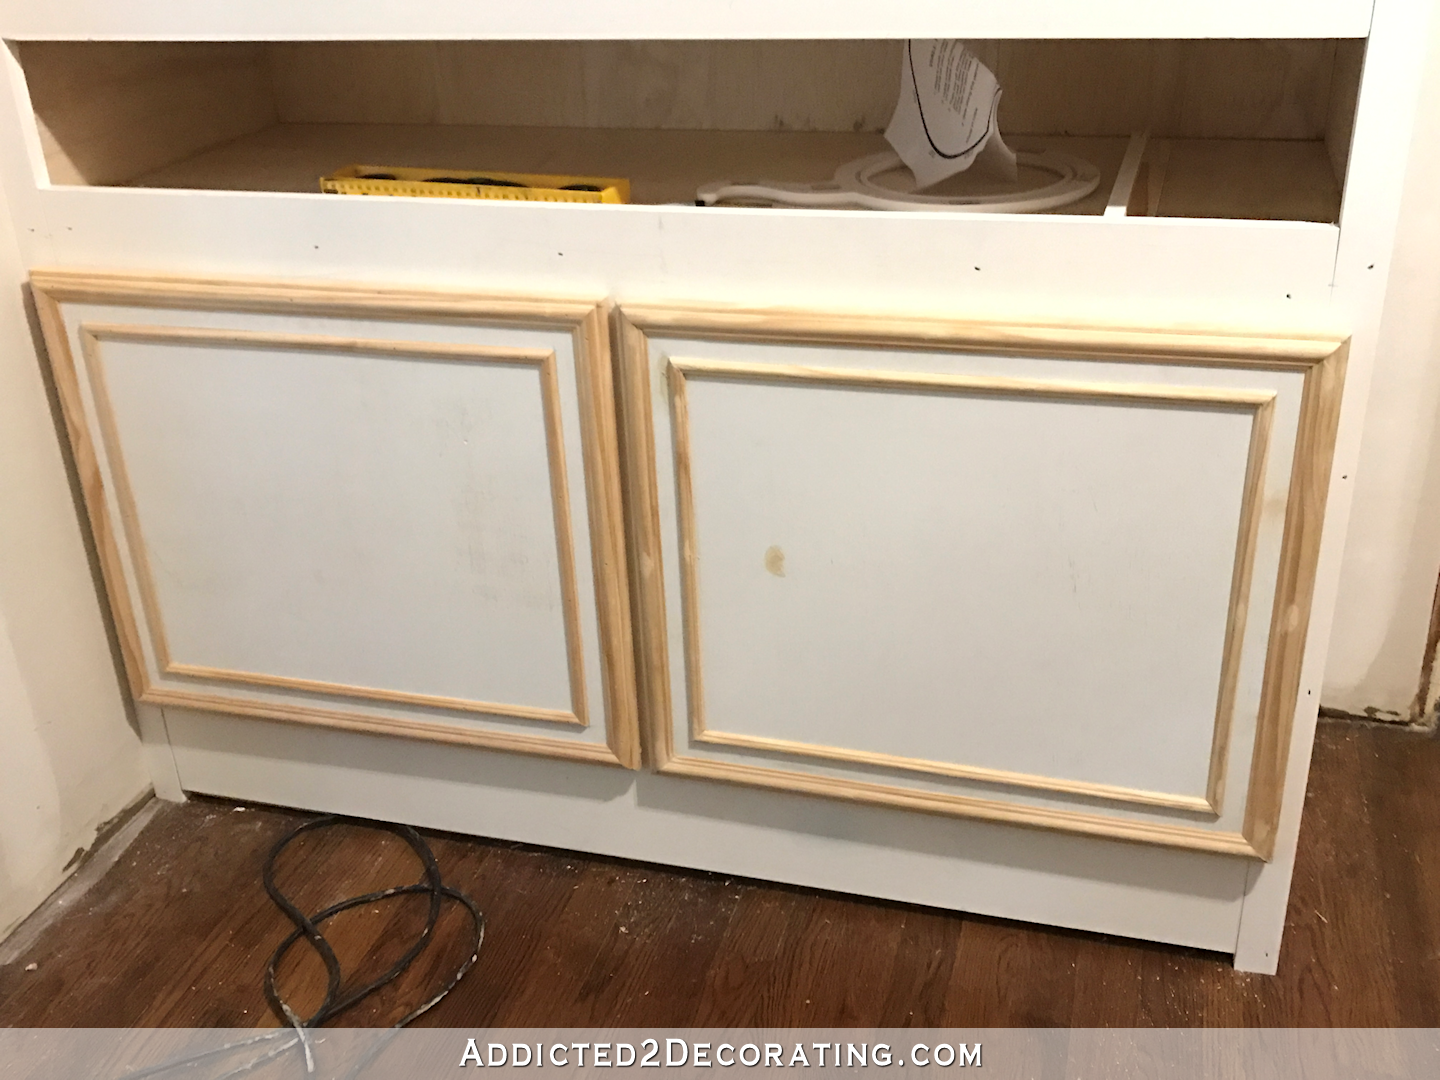
- Raised Panels: A raised panel involves carving the center of the panel to create a three-dimensional effect. Imagine the center of the panel slightly raised above the surrounding surface. This can be done with hand tools or a router.
- Routed Edges: A router can be used to create decorative profiles on the edges of the frame, adding visual interest. Imagine a variety of decorative edges, from simple bevels to more elaborate profiles. Choose a profile that complements your overall style.
Finishing and Installation of Simple Cabinet Doors

Now that your cabinet door frames are constructed, it’s time to bring them to life with a beautiful finish and install them onto your cabinets. This final stage is crucial for achieving a professional-looking result and ensuring the doors function smoothly. Proper preparation and careful execution will make all the difference.
Applying Stain or Paint
Preparing your cabinet doors for finishing is just as important as the application itself. A smooth, clean surface ensures even color and a professional look. Here’s a step-by-step guide:
- Sanding: Begin by sanding the entire surface of the door with fine-grit sandpaper (220-grit or higher). This removes any imperfections and creates a smooth base for the finish. Pay close attention to edges and corners.
- Cleaning: After sanding, thoroughly wipe down the door with a tack cloth or slightly damp cloth to remove all dust particles. Dust can interfere with the adhesion of the stain or paint.
- Applying Stain (if using): Apply the stain following the manufacturer’s instructions. Typically, this involves using a brush, rag, or sponge to apply a thin, even coat. Allow the stain to dry completely according to the manufacturer’s recommendations, usually several hours.
- Applying Paint (if using): If using paint, apply two thin coats, allowing each coat to dry completely before applying the next. Using thin coats prevents drips and ensures a smooth finish. Sand lightly between coats with very fine sandpaper (320-grit or higher) to create a perfectly smooth surface.
- Sealing (Optional): Once the stain or paint is completely dry, consider applying a clear sealant to protect the finish and enhance its durability. This is especially important in kitchens and bathrooms where moisture is a concern.
Installing Hinges and Handles
The placement of hinges and handles is critical for proper door alignment and ease of use. Precise measurements and careful installation are key.
- Hinge Placement: Mark the hinge locations on both the door and the cabinet frame, ensuring the hinges are level and evenly spaced. Use a quality hinge template to ensure accurate placement. A visual aid: Imagine a perfectly level line across the face of the door, and the hinges are equidistant along this line.
- Drilling Pilot Holes: Drill pilot holes for the hinge screws to prevent splitting the wood. Use a drill bit slightly smaller than the screw diameter. A visual aid: The pilot hole should be just large enough to allow the screw to thread in smoothly without resistance.
- Attaching Hinges: Attach the hinges to the door and cabinet frame using the screws. Make sure the hinges are flush with the surface of the wood. A visual aid: The hinge should lie flat against the surface, with no gaps or overhang.
- Handle Installation: Mark the handle locations on the door and drill pilot holes as needed. Follow the manufacturer’s instructions for installing the handles. A visual aid: The handle should be centered and positioned at a comfortable height.
Installing the Cabinet Door
Once the hinges and handles are installed, carefully install the door onto the cabinet.
- Alignment: Align the hinges on the door with the hinges on the cabinet frame. Ensure the door is level and plumb (perfectly vertical). A visual aid: Use a level to check both vertical and horizontal alignment.
- Securing the Door: Close the door and ensure it sits flush with the cabinet frame. Make any necessary adjustments to the hinge screws to achieve a perfect fit. A visual aid: The door should close smoothly and completely without gaps.
Troubleshooting Guide
| Problem | Cause | Solution | Prevention |
|---|---|---|---|
| Door doesn’t close properly | Hinges not aligned correctly | Adjust hinge screws until the door closes smoothly. | Use a hinge template and level during installation. |
| Door is uneven | Uneven frame construction | Carefully check and adjust the frame before installing the door. | Ensure accurate measurements and construction techniques during frame building. |
| Paint or stain is uneven | Insufficient sanding or cleaning | Re-sand and clean the surface, then reapply the finish. | Thoroughly sand and clean the surface before applying the finish. |
| Wood splitting during screw insertion | Lack of pilot holes | Pre-drill pilot holes before inserting screws. | Always pre-drill pilot holes, especially in hardwoods. |
